
If you’ve got a WordPress site and you’re looking to gain insights into how visitors interact, Google Analytics 4 (GA4) is the tool you need. GA4 is the latest version of Google Analytics and offers advanced tracking features like event-based tracking, user journey insights, and cross-platform analysis. Once you install GA4, you’ll be able to monitor user behavior and website performance more effectively, giving you the data needed to make informed decisions for growth.
In this blog, we’ll cover two methods to install GA4 on your WordPress website:
- Using Google’s Site Kit plugin (recommended for beginners).
- Installing GA4 using Google Tag Manager (we strongly recommend this method for control and flexibility)
We’ll also walk you through how to create a Google Analytics account to get your Measurement ID, which is necessary for installation.
Why Install Google Analytics 4 on Your WordPress Site?
GA4 provides real-time data and long-term insights into your website’s performance. It allows you to:
- Track user interactions across your website.
- Measure traffic from different sources, including organic, paid, and social.
- Analyze which content resonates most with visitors.
- Monitor key metrics like conversion rates and bounce rates.
Whether you’re a business looking to boost conversions or a blogger hoping to grow your audience, Google Analytics 4 is a powerful, free tool to help you understand and optimize your site.
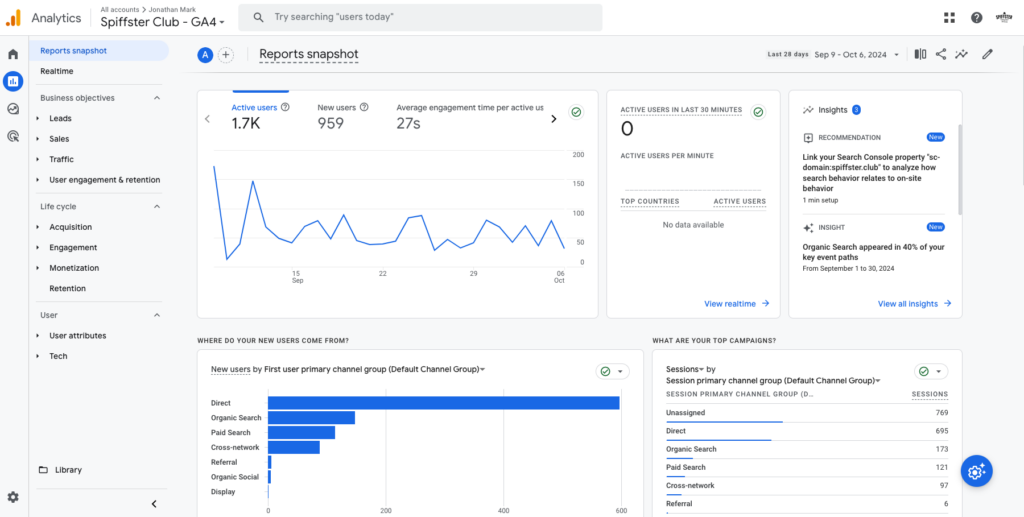
A Reports snapshot in Google Analytics 4. By default, you will be able to see the number of Active users, Average engagement time per active user, first user primary channel group, and other useful insights.
Initial Step: Create Your Google Analytics Account
Before installing GA4 on WordPress, you need to set up your Google Analytics account and create a property for your website. Here’s how:
1. Go to Google Analytics and sign in with your Google account (or create one if you don’t have one).
2. Click “Start Measuring” to create a new Analytics account.
3. Account Setup: Enter an account name (e.g., your business name) and configure your data-sharing preferences.
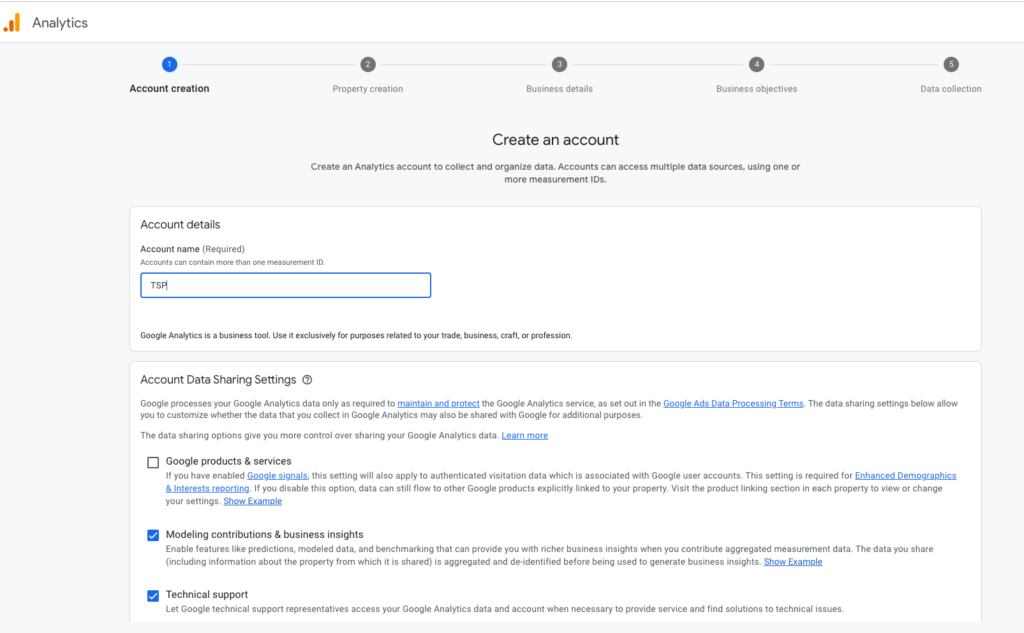
Start entering your account details and soon you’ll start getting useful insights like a true marketing pro.
4. Property Setup: Enter your website’s name, select your time zone, and choose your currency.
5. Business Information: Select your industry category and the size of your business, then specify how you plan to use Google Analytics (e.g., measure customer engagement).
6. Create Data Stream:
- Under “Choose a platform,” select Web.
- Enter your WordPress site URL and name the data stream (e.g., “My WordPress Site”).
- You’ll see a toggle for Enhanced Measurement—this is on by default to track interactions like scrolls, outbound clicks, and more.
7. Get Your Measurement ID: After setting up the data stream, you’ll receive a unique Measurement ID (looks like G-XXXXXXX). Copy this ID—you’ll need it later.

Method 1: Install Google Analytics 4 Using Google Site Kit Plugin
Google’s Site Kit plugin is the simplest way to install GA4 on your WordPress site. It handles everything for you without needing to touch code.
This method is ideal for users who prefer simplicity and an easy integration process. If you own a small online store or run a blog, you can get by using a plugin. However, if you prefer more control and flexibility, we strongly recommend using our second method.
Step-by-Step Guide:
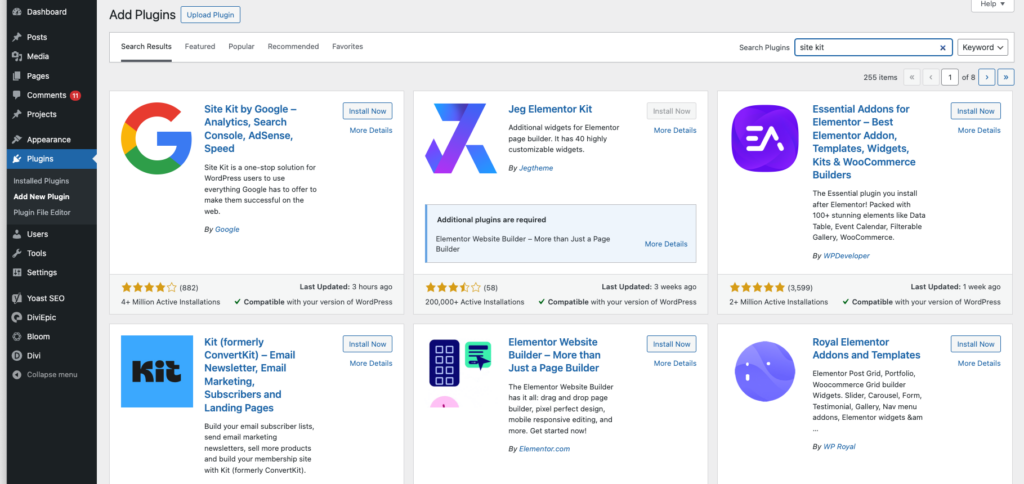
1. Install Site Kit Plugin:
- Go to your WordPress dashboard.
- Navigate to Plugins > Add New.
- Search for “Site Kit by Google” and click Install Now, then Activate.
Site Kit is a plugin by Google for WordPress that allows users to easily install GA4 and other tools in the Google Stack.
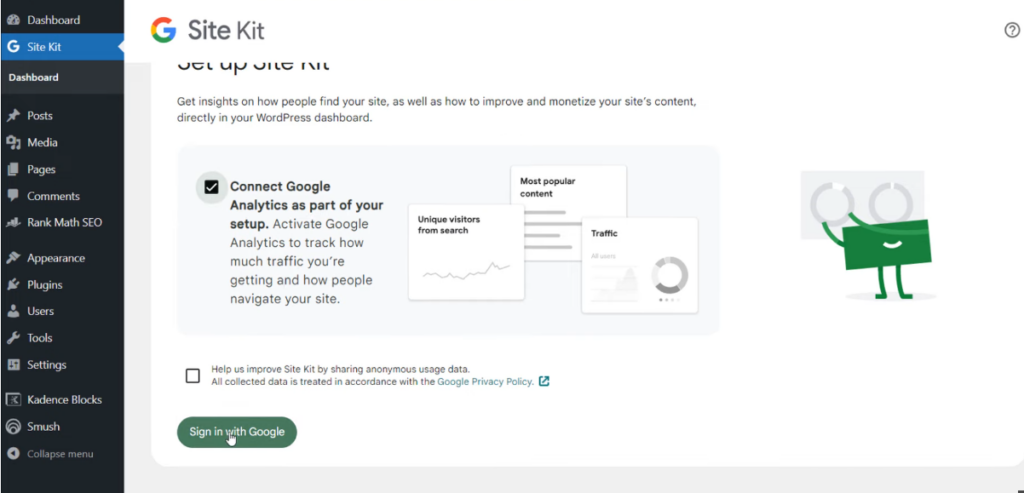
2. Connect Site Kit to Google Analytics:
- Once activated, click on Site Kit in your dashboard.
- Click “Connect Google Analytics” and sign in with the same Google account you used to create your GA4 account.
- Site Kit will detect your existing GA4 property and ask for permission to connect it to WordPress.
- Be sure to connect the correct account if you have multiple accounts.
3. Complete the Setup:
- Site Kit will automatically insert the GA4 tracking code across your website.
- You can now view GA4 data directly from your WordPress dashboard via Site Kit.
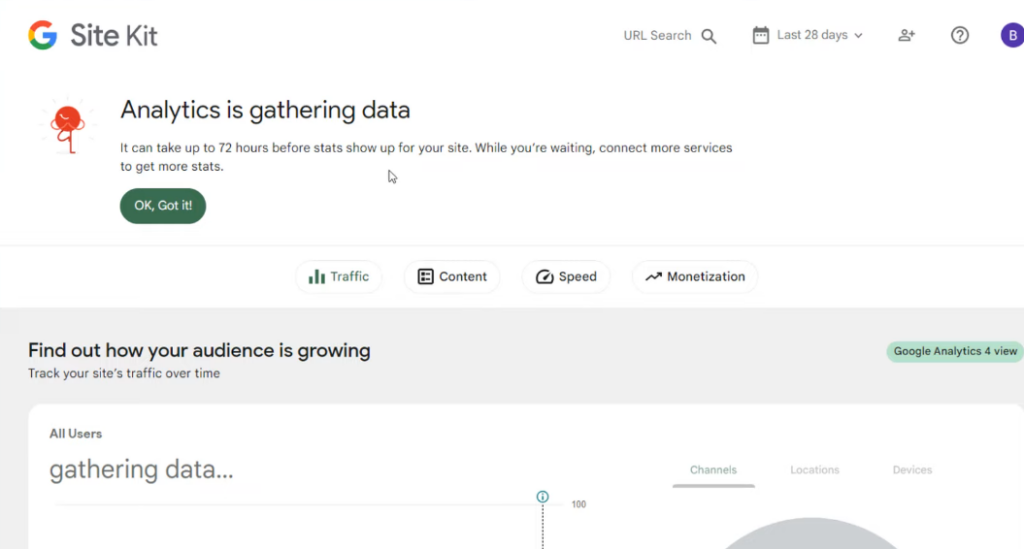
It can take up to 72 hours before stats show up for your site.
Method 2: Install Google Analytics 4 Using Google Tag Manager (Strongly Recommended)
If you want more control over your installation process and prefer a tag management system, using Google Tag Manager (GTM) is a great option. GTM allows you to manage tags without needing to alter your website’s code directly. We strongly recommend this method of installation.
Step-by-Step Guide:
1. Set Up Google Tag Manager:
- If you don’t already have a GTM account, head over to Google Tag Manager and sign in with your Google account.
- Click Create Account, then set up a container for your website.
- Once your container is created, you’ll receive a GTM code snippet. Copy this and add it to your WordPress site’s header (Appearance > Theme File Editor > header.php, and paste it just before the closing </head> tag).

You will need copy and paste the GTM code snippet into your WordPress site’s header to get GTM to work correctly.
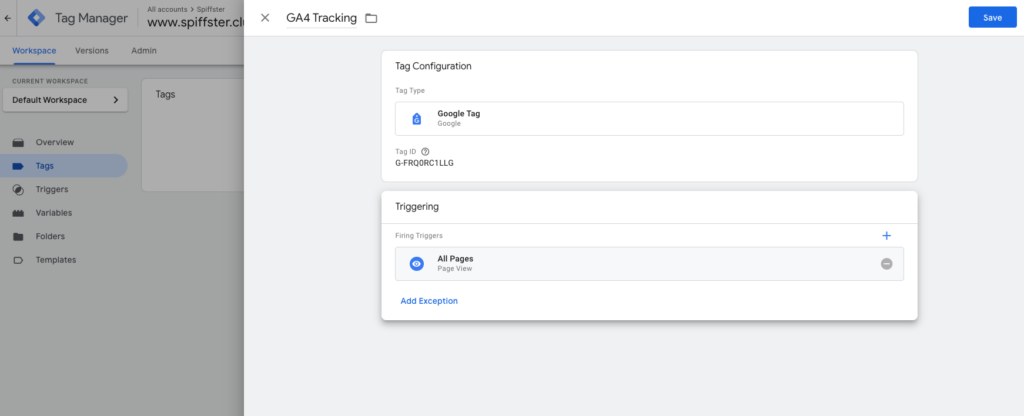
2. Create a GA4 Tag in Google Tag Manager:
- In your GTM account, click Tags > New.
- Name your tag (e.g., “GA4 Tracking”).
- Under Tag Configuration, select Google Tag.
- Paste your GA4 Measurement ID (which you can find in your GA4 account by going to Admin > Data Streams > selecting your WordPress site > copying the Measurement ID that looks like G-XXXXXXX).
3. Set the Trigger:
- After entering your Measurement ID, you’ll need to define when the tag should fire. Under Triggering, choose All Pages to ensure the GA4 tag loads on every page of your site.
4. Publish Your Container:
- Click Submit to publish your changes in Google Tag Manager. You may use the ve
- Once published, GTM will now handle loading the GA4 tag across your website.
5. Verify Installation:
- Head back to your Google Analytics dashboard and navigate to Realtime reports to see if data is being tracked.
- You can also use the Google Tag Assistant Chrome extension to ensure the GA4 tag is firing properly on your website.
Conclusion
Setting up Google Analytics 4 on your WordPress site is crucial for understanding how users interact with your content and optimizing their experience. Both the Site Kit plugin and Google Tag Manager are effective methods for installing GA4, but they cater to different needs.
For beginners, the Site Kit plugin offers a fast and easy way to get started without the need for technical expertise. However, if you’re looking for greater flexibility, control, and scalability as your business or blog grows, we strongly recommend using Google Tag Manager. GTM not only simplifies the management of multiple tags across your site but also provides advanced options for customizing your tracking setup, giving you more precise insights into user behavior.
If you’re unsure which method is right for you or need help setting up Google Tag Manager, Project 3 Consulting is here to assist. Our team specializes in optimizing tracking setups for businesses of all sizes, ensuring that you get the most out of your analytics tools. Whether you’re a small business owner or managing a large enterprise, we can help you implement the best strategies to drive growth and improve your website’s performance.
Need assistance? Contact us today to get expert support with Google Analytics, Google Tag Manager, or any other MarTech tools that can take your digital strategy to the next level.